Boiler Restoration
![]()
Work is being done by Historic Machinery in Steele, AL., and managed by Mr. Bob Yuill of Historic Machinery.
| 786 Boiler at Historic Machinery for restoration. |
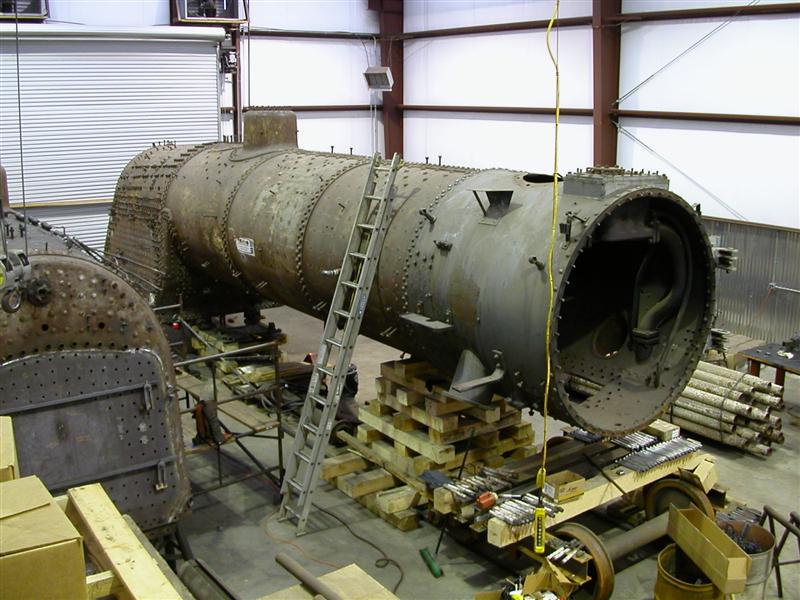 Photo: John Mandell |
| Old stay bolts being drilled out. |
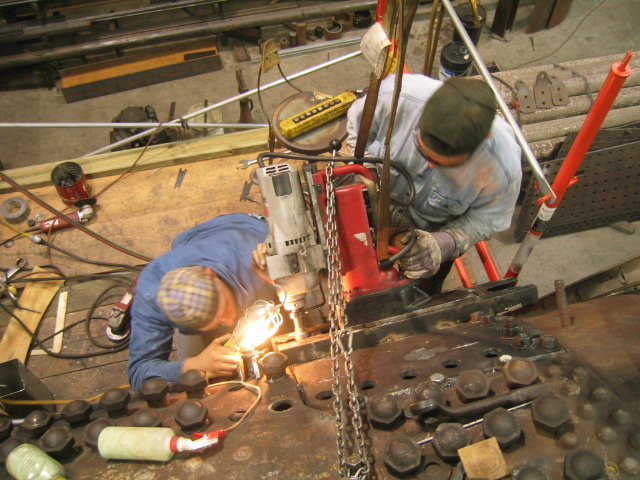 Photo: Historic Machinery |
| Fire box area |
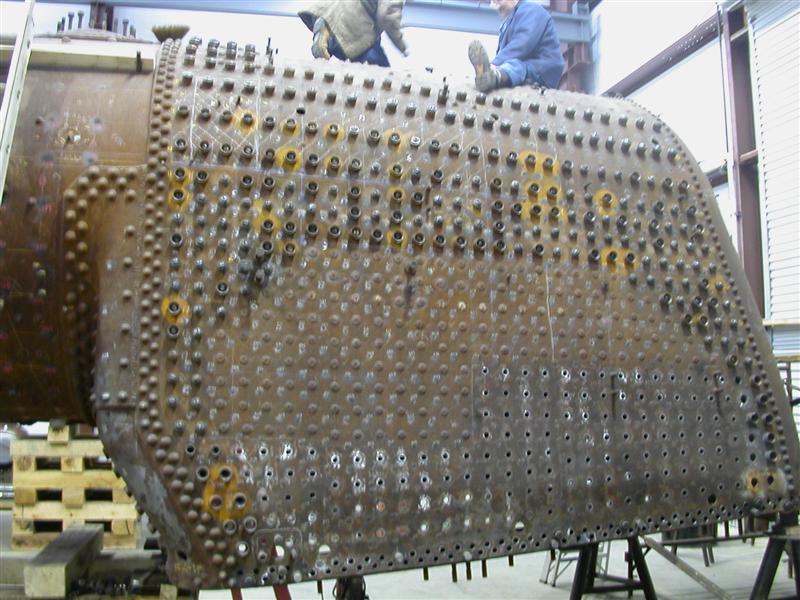 Photo: John Mandell |
| Back sheet of the firebox |
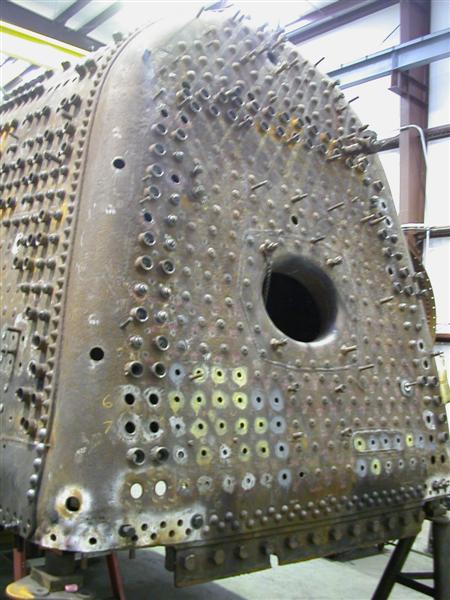 Photo: John Mandell |
| Left wrapper section removed, exposing the mud ring |
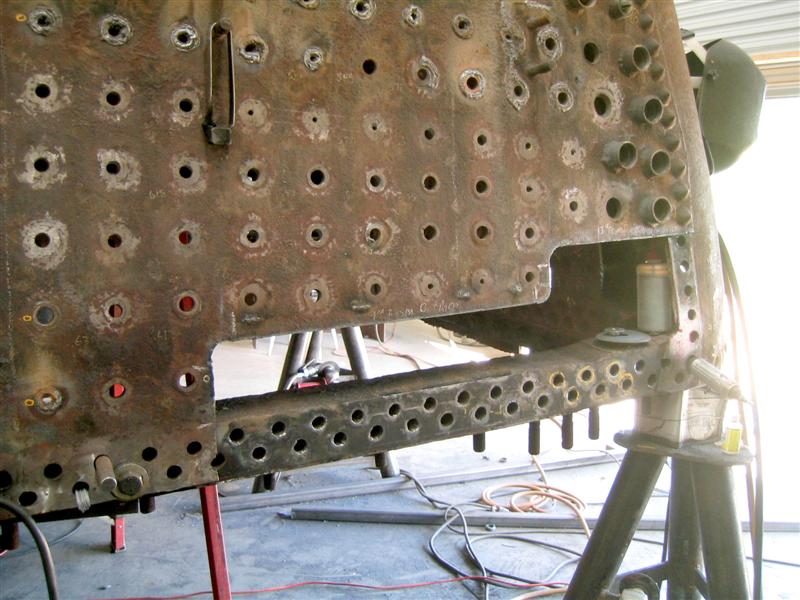 Photo: Historic Machinery |
| New lower left wrapper sheet welded in place, ready for mud ring rivets. |
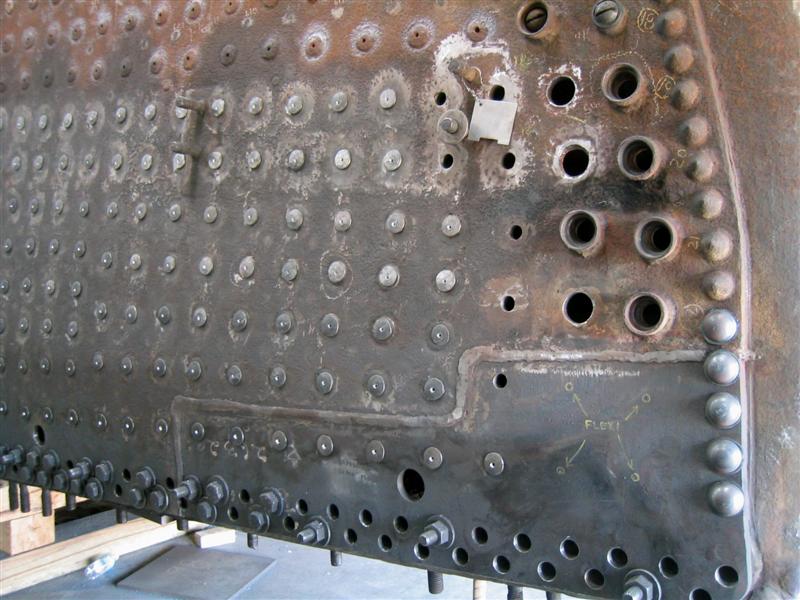 Photo: Historic Machinery |
| Mud Ring rivets completed |
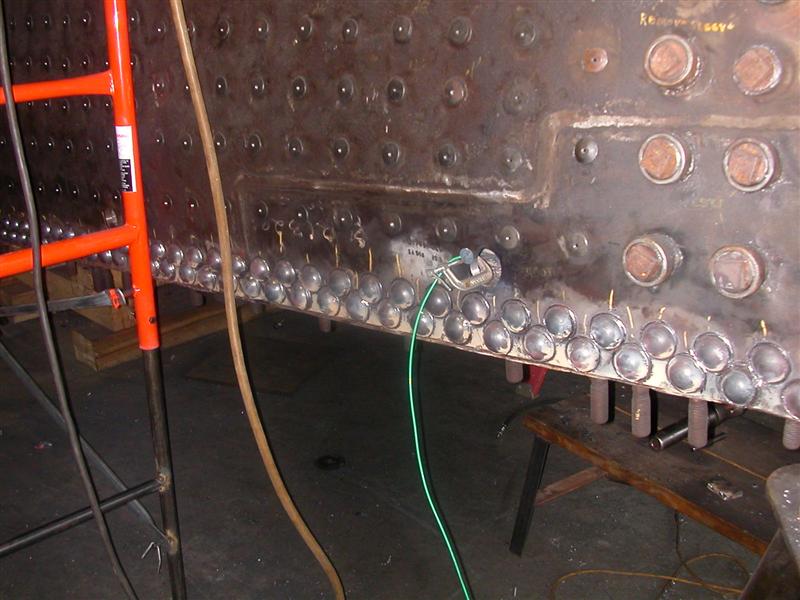 Photo: John Mandell |
| Section of new stay bolts |
 Photo: John Mandell |
| A few diagonal brace rivets had to be replaced, with limited access. Some creative tooling was used to back & drive the rivets. |
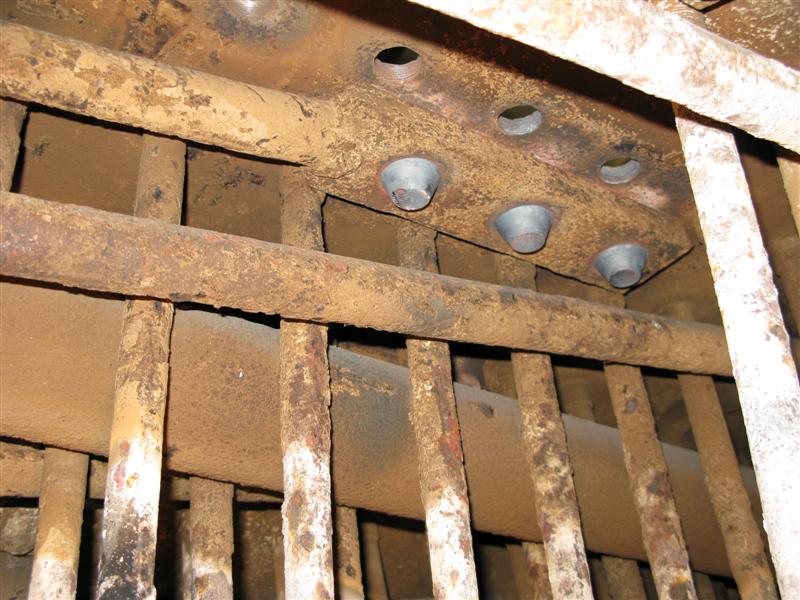 Photo: Historic Machinery |
| Inside the fire box, the crown sheet is undergoing repairs. The shoulders, or radial sections, are being replaced with new plates and stay bolts. |
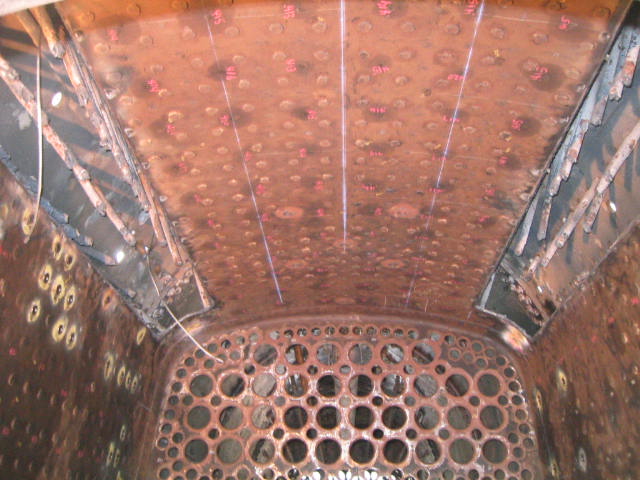 Photo: Historic Machinery |
| Old shoulders are cut out |
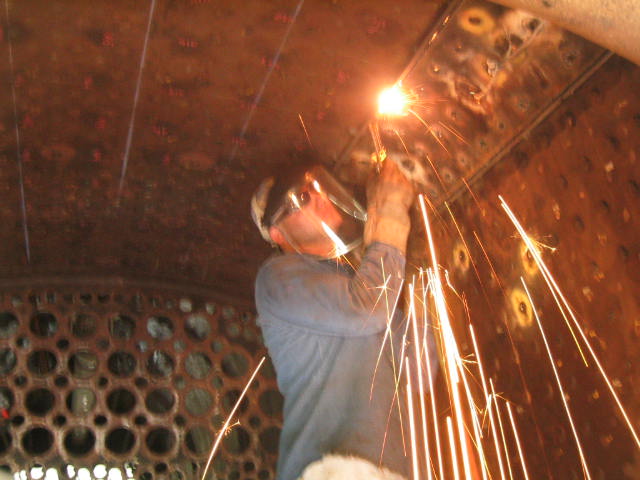 Photo: Historic Machinery |
| New shoulders have been patterned and fabricated, ready for installation. |
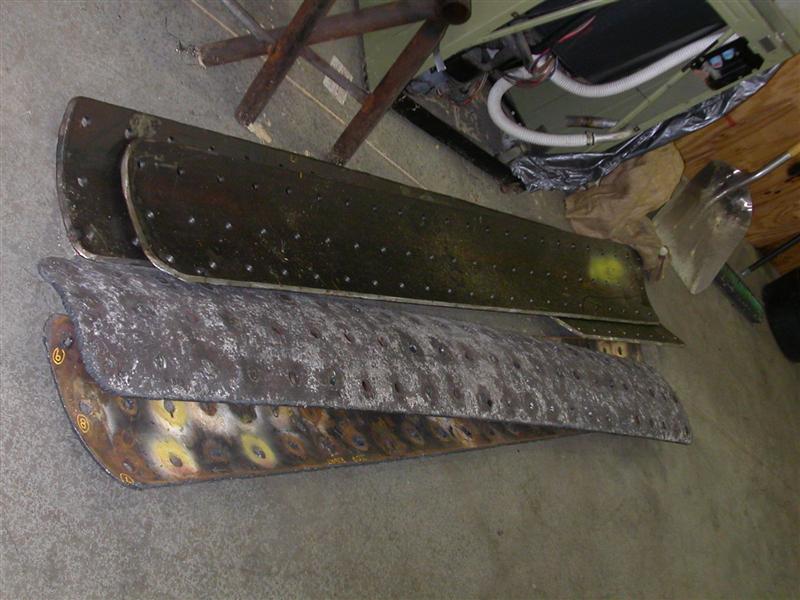 Photo: John Mandell |
| New shoulders in place, ready to be welded in. This completes the crown sheet repairs and pretty much buttons up the inside of the firebox area of the boiler. |
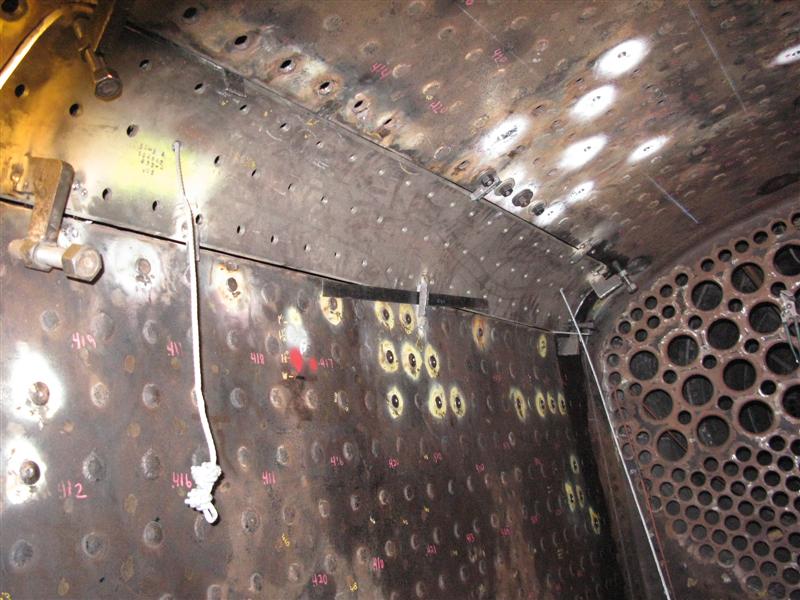 Photo: Historic Machinery |
| Driving hot rivets in the mud ring |
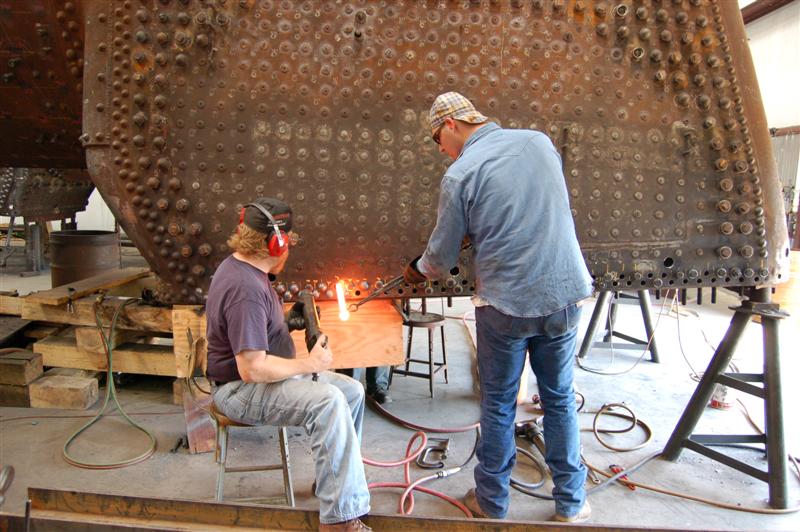 Photo: Historic Machinery |
| Red-hot rivets - Hot work |
 Photo: Historic Machinery |
| Another person is on the inside of the firebox backing up the hot rivet. |
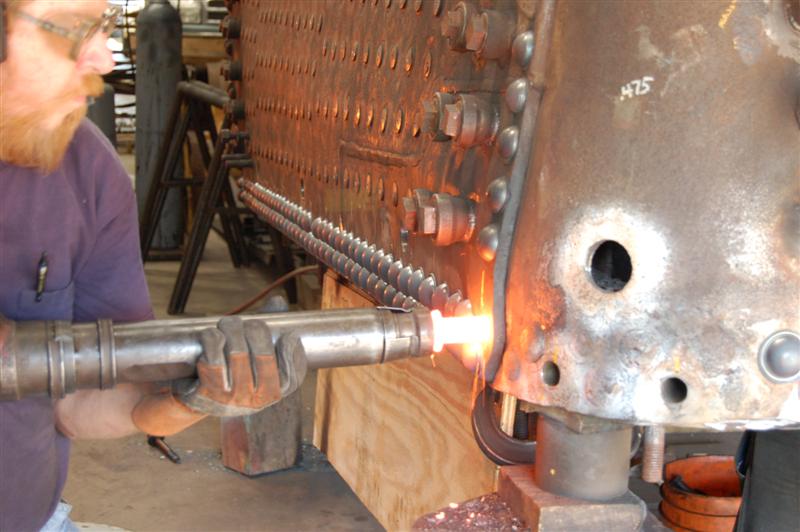 Photo: Historic Machinery |
| Driving hot rivets is heavy work |
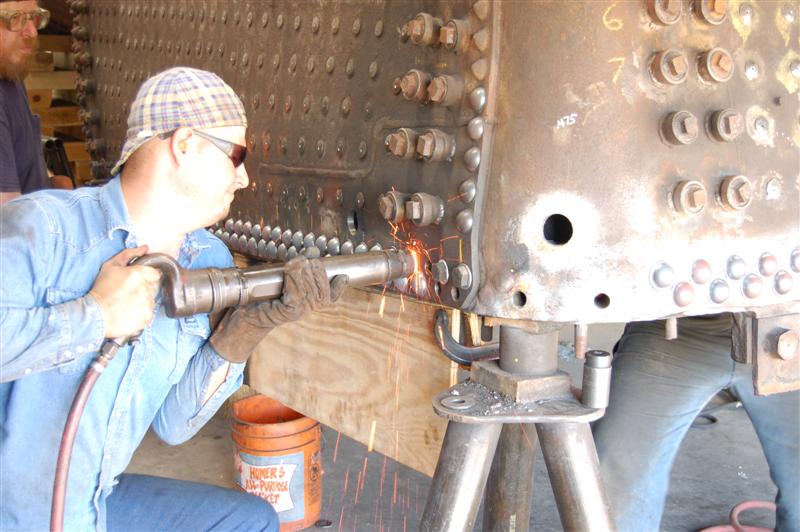 Photo: Historic Machinery |
| Another completed repair of the wrapper roof sheet, top left side |
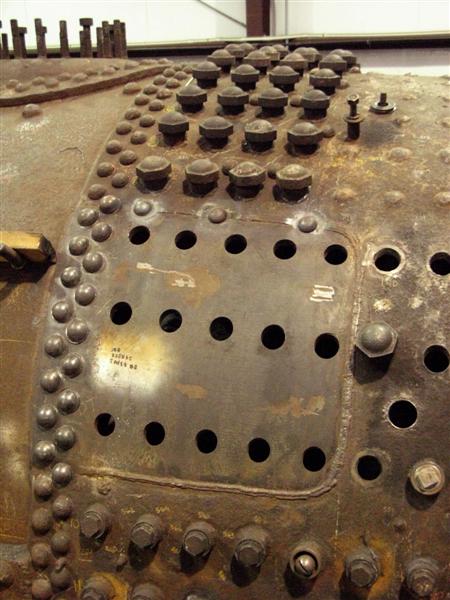 Photo: Historic Machinery |
| New side sheet fabricated and ready for installation on the right side wrapper |
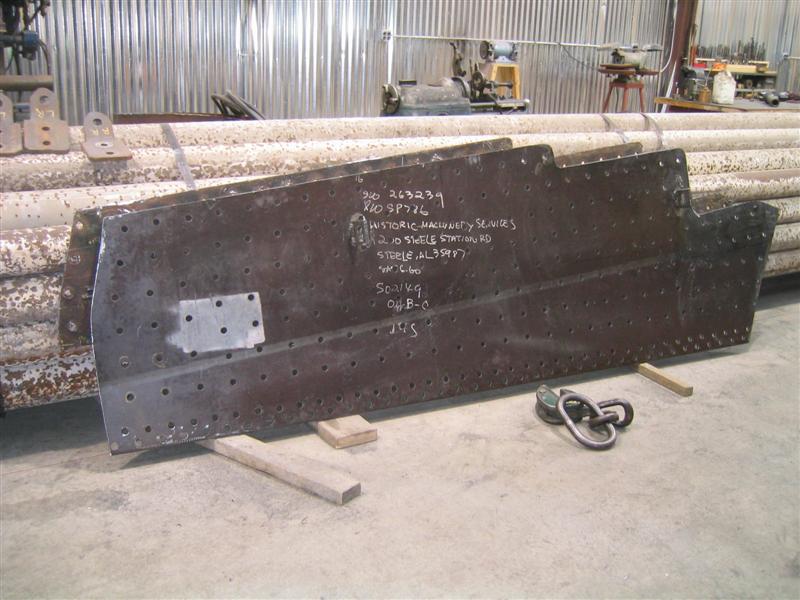 Photo: Historic Machinery |
| Super Heater Header being removed, allowing removal of the dry pipe |
 Photo: Historic Machinery |
| Lapping the superheater header unit seats, the
connection between the superheater header & tubes.
|
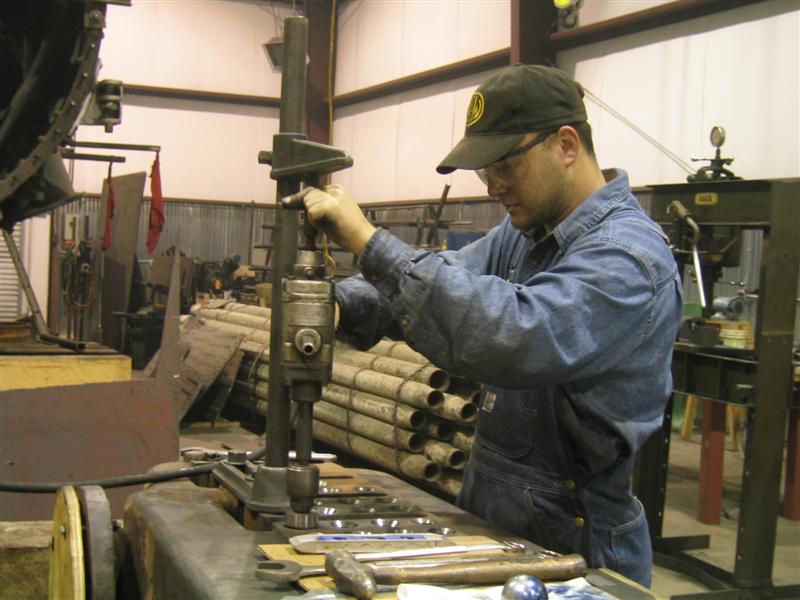 Photo: Historic Machinery |
| The superheater header seats are machined and
then polished at a 45 degree bevel. The superheater tubes end in a
spherical seat. The 2 photos are of a seat that has been partially machined & polished. A gauge ball and some dye is used to indicate the point of contact. The top photo indicates only 3 points of contact - no good! After more work, the lower photo shows an almost continuous line, nearly ready for a good seal. The goal is one unbroken line indicating a good seal. |
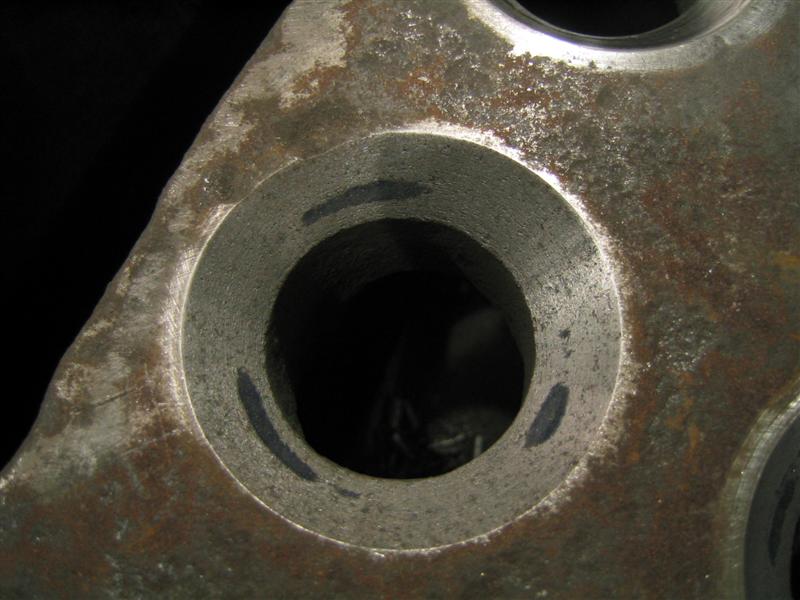  Photo: Historic Machinery |
| Machining the dry pipe face
|
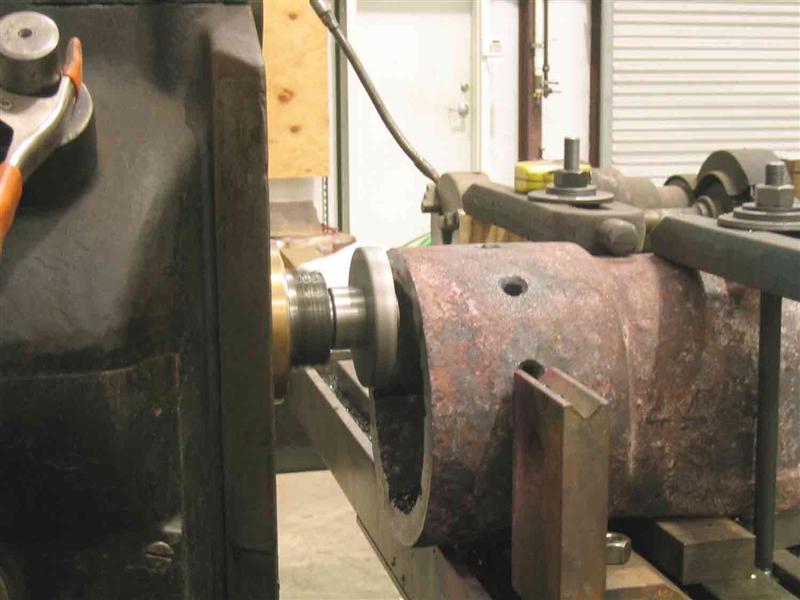 Photo: Historic Machinery |
![]()